GitLab Package Registry (GPR) is a powerful feature of GitLab that allows developers to store and share packages within their GitLab projects. With this feature, developers can easily manage and distribute packages, such as Docker images, Maven artifacts, RubyGems, and npm packages, without relying on external registries.
In this article, we will explore how to use GPR for storing Helm charts and which benefits you will have.
Benefits
Centralized Package Management
GPR helps to manage packages in one location. Instead of relying on public packager registries in the situation with deleted packages.
Improved Security
GPR provides a private repository for storing packages and charts. With this feature, you can keep charts secure and take access to only authorized members.
Easy Collaboration
Storing helm a chart in GPR help to do a collaboration between members. GPR provides a panel where you can see all charts, versions of charts, and other details of charts.
Using GPR for Helm charts
By default, Gitlab Package Registry is enabled. You should see it in the left menu.
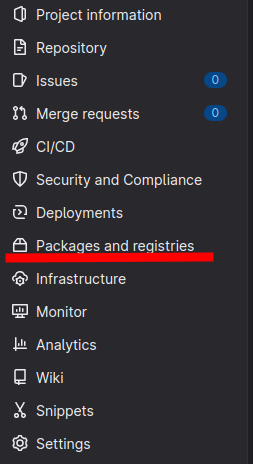
If you don’t have this menu you will need to enable GitLab Package Registry for your GitLab project. You can do this by navigating to your project’s Settings > General > Visibility, project features, permissions page and clicking on the “Package registry" button.
After it, you need to create a token.
- Go to your GitLab repository settings in the left-hand menu
- Click on “Repository”
- Expand “Deploy tokens”
- Enter the name of the token
- Select the scopes for the token (read_package_registry, write_package_registry)
- Don’t forget to save the token, as it will not be displayed again.
Work with charts
Now we have all to push charts. If you don’t have a chart let’s create this:helm create foo
Now we need to package it:helm package foo/
Once built, a chart can be uploaded to the desired channel with curl.
| |
where:
- username - username for deploy token (by default gitlab+deploy-token-nnnn)
- access_token - saved token project_id - the id of repository. You may find it in Project information.
- channel - some types of a branch. You may have “dev”, “stable” branches.
If all passed ok you will have a message: {"message":"201 Created"}
Now open Package and registries > Package Registry. You will see your helm chart.

Add helm repository to a local machine
For adding repository use this command:
| |